Introduction
In today’s increasingly interconnected digital landscape, domain management serves as a foundational element for building resilient, secure, and scalable systems. Migrating a domain to a cloud-based platform is not merely a technical adjustment it is a strategic move aimed at enhancing operational efficiency and infrastructure reliability.
Alibaba Cloud, recognized as a leading cloud service provider in Asia, offers robust DNS solutions backed by advanced security frameworks and seamless integration capabilities. Transitioning domain services to Alibaba Cloud involves more than transferring DNS records; it signifies a shift toward modernized identity management, real-time system monitoring, and streamlined service orchestration.
This document provides a structured and practical guide for executing domain migration to Alibaba Cloud, covering preparatory steps, configuration validation, and best practices to ensure service continuity throughout the transition process.
In this tutorial, we will perform a domain migration from Hostingerto Alibaba Cloud.
1. Initial Setup in Hostinger
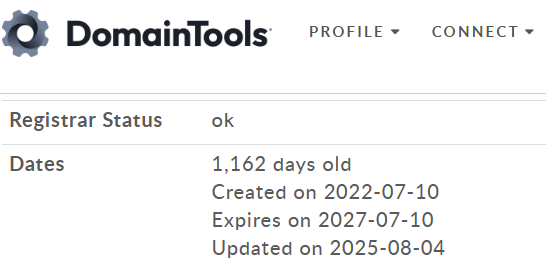
Ensure that the domain is active and not locked
This means the domain is still active and has not yet expired. If the domain has already expired, it cannot be transferred to another registrar.
To check the status: Access WHOIS Lookup (https://whois.domaintools.com/mursidin.net)
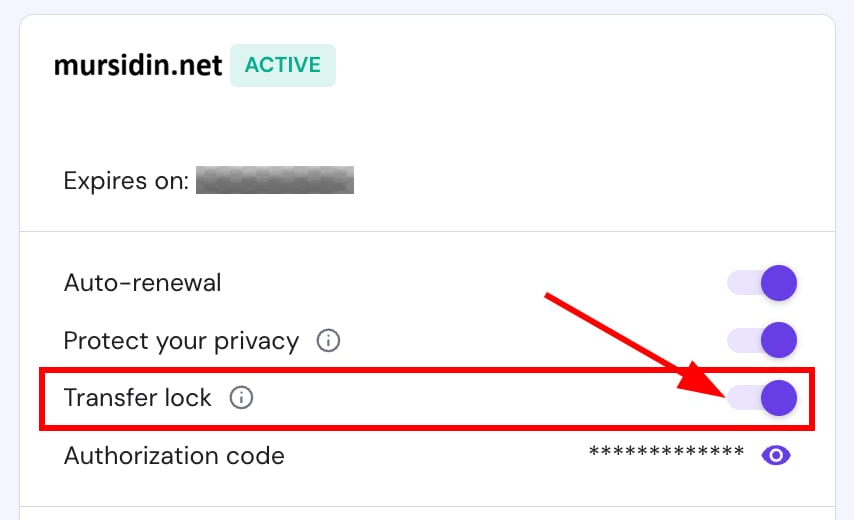
Domain is Unlocked
By default, Hostinger locks domains to prevent unauthorized transfers. To proceed with a migration, you must first unlock the domain.
Here are the steps to unlock a domain in Hostinger:
- Log in to your Hostinger account.
- Go to the Domains section in the hPanel.
- Click on the domain name you wish to transfer.
- Locate the Transfer Lock option and toggle it to OFF (Unlocked).
2. Backup of DNS and Configuration Settings
Export All DNS Records from Hostinger (A, MX, CNAME, TXT, etc.)
For each record, copy the following information:
- Type (e.g., A, MX, CNAME, etc.)
- Name/Host
- Value/Points to
- TTL
- Priority (for MX records only).
|
1 2 3 4 5 |
Type Name Value / Points to TTL Priority A @ 104.16.65.50 14400 – MX @ mx1.hostinger.com 14400 10 CNAME www mursidin.net 14400 – TXT @ "v=spf1 include:hostinger.com ~all" 14400 – |
Save the file in spreadsheet format to facilitate future import into Alibaba Cloud DNS.
3. Log in to the Alibaba Cloud Console
- Access the Alibaba Cloud Domain Console.
- Select the Transfer Domain menu and enter the domain name you want to transfer.”

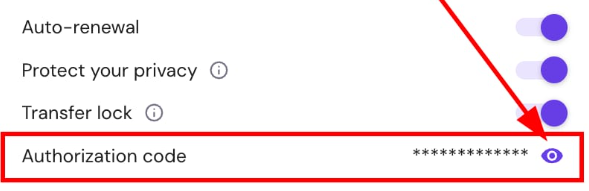
4. Enter the EPP Code and Validate
Input the EPP/Auth Code obtained from Hostinger
After that, you will receive a domain transfer confirmation email from Hostinger.
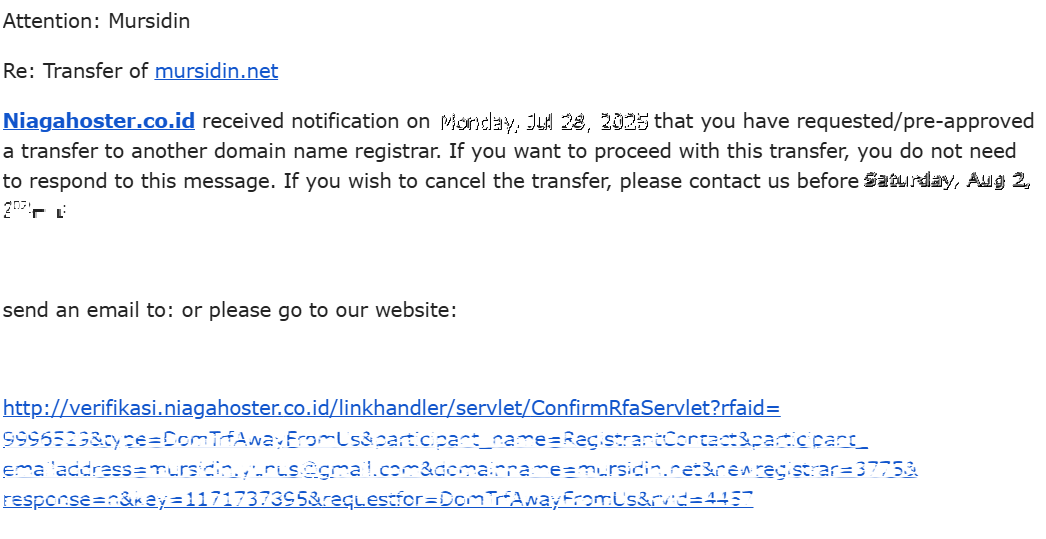
5. Wait for the Transfer Process
This process typically takes 5 to 7 business days to complete.
- After 5 to 7 business days, the domain will become available.
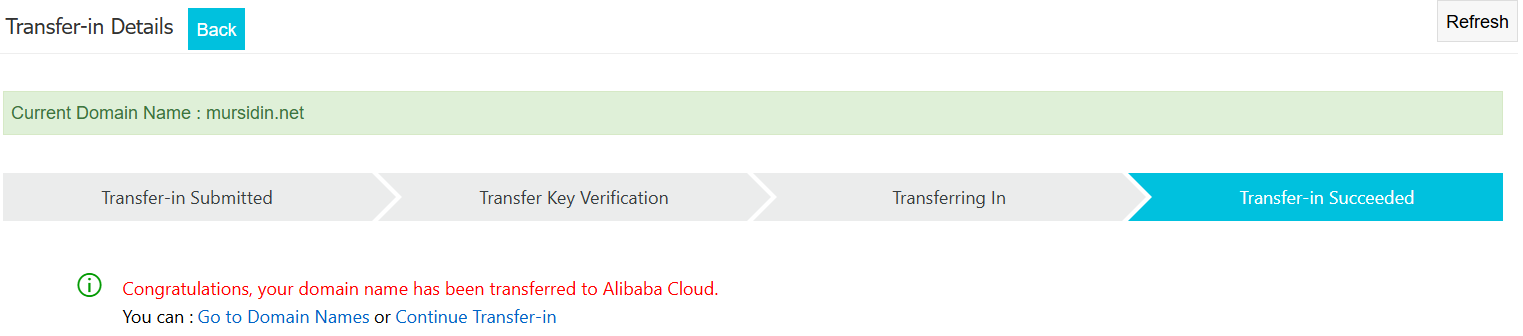
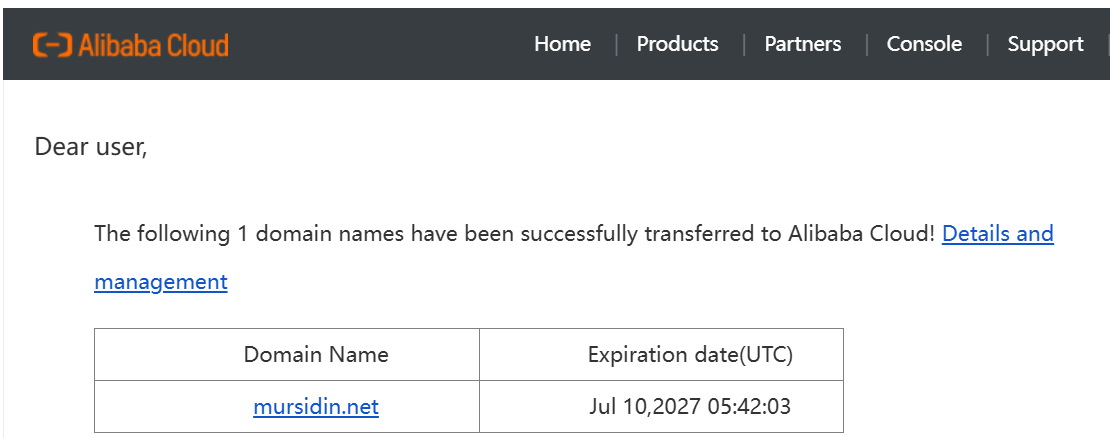
6. After that, you will also receive a confirmation email indicating that the domain migration from Hostinger to Alibaba Cloud has been successfully completed.
7. Migrate DNS to Alibaba Cloud
After the domain has been successfully transferred:
- Log in to the Alibaba Cloud DNS Console.
- Add the domain under the Authoritative Domain Names tab.
- Import the DNS records previously exported from Hostinger
|
1 2 3 4 5 |
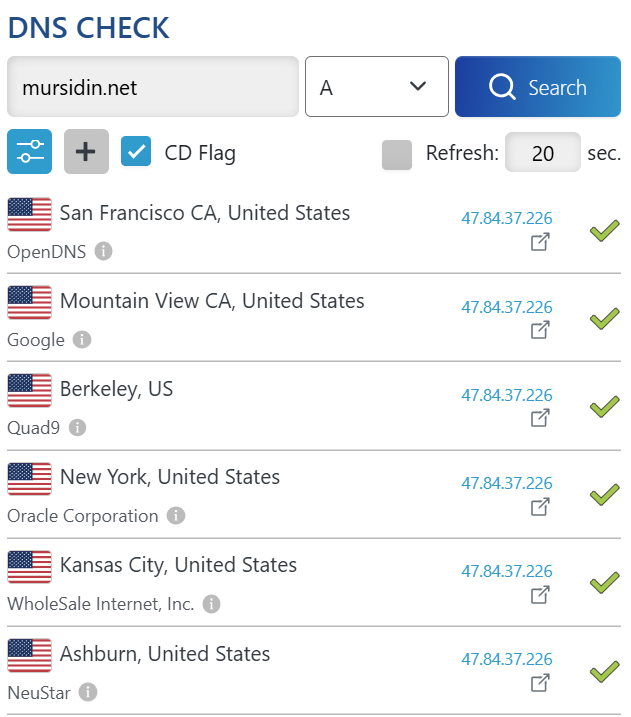
Record Type Hostname DNS Line Record Value MX Priority TTL Period A @ default 47.84.37.226 600 Enable A www default 47.84.37.226 600 Enable TXT @ default v=spf1 include:spf.aliyun.com ~all 600 Enable A mursidindefault 47.84.37.226 600 Enable |
- Update the domain’s nameservers to point to Alibaba Cloud’s nameservers.
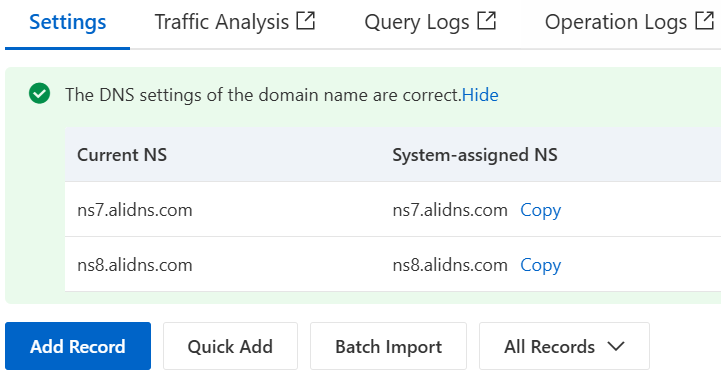
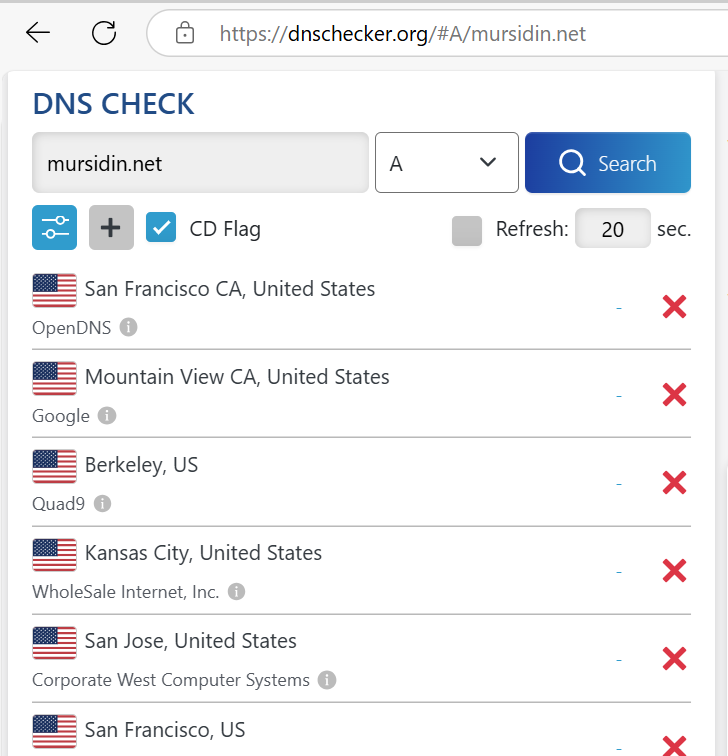
Migrate domain is successfully, you could verify using link below.
https://www.alibabacloud.com/whois/
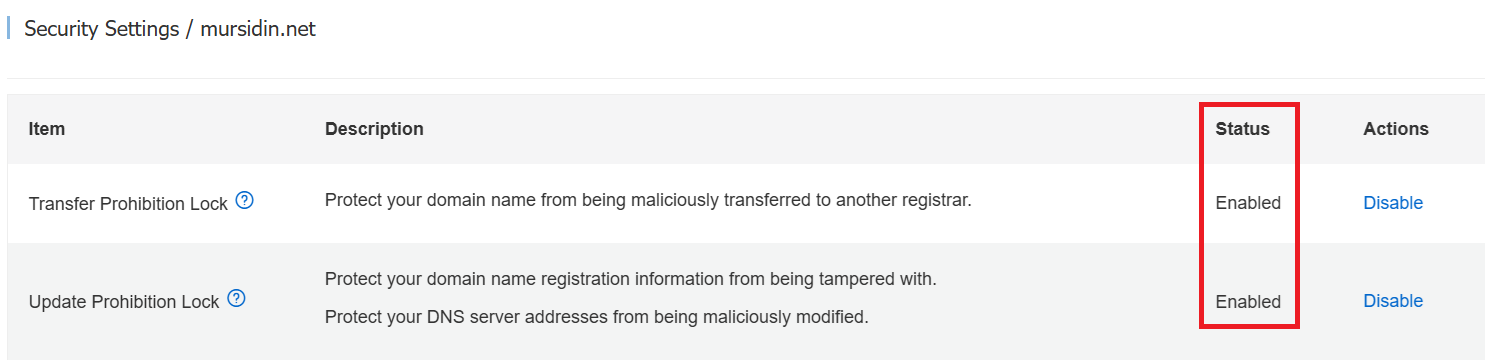
Enable the Transfer Prohibition Lock
After you have successfully migrated to Alibaba Cloud, don’t forget to protect it. Prevent Unauthorized Transfers for Activating a transfer lock ensures your domain cannot be moved to another registrar without explicit authorization. This protects against domain hijacking, a common tactic used by cybercriminals.
Log in to Alibaba Cloud Console
Go to the Alibaba Cloud Domains Console and sign in with your account.
Access Domain Management
Navigate to Domain → Domain Name List and select the domain you wish to lock.

Open Security Settings
Click Manage next to the domain, then go to the Security Settings tab.
Enable Transfer Prohibition Lock
Click Enable next to Transfer Prohibition Lock.
Complete email verification if prompted